For the last year and half, I’ve had the opportunity to photograph so many beautifully stylized events designed by the fabulous team at Baby Showers Inc. And since I enjoy photographing all the beautiful details that Katherine and her team put together at each of these events, I thought it would be fun to discuss some helpful tips to take your detail pictures from nice to “WOW”. In this new world of Pinterest and Instagram, who doesn’t want to take their stylized photos to the next level?! Below I’ve listed 5 simple tips to help you do just that.
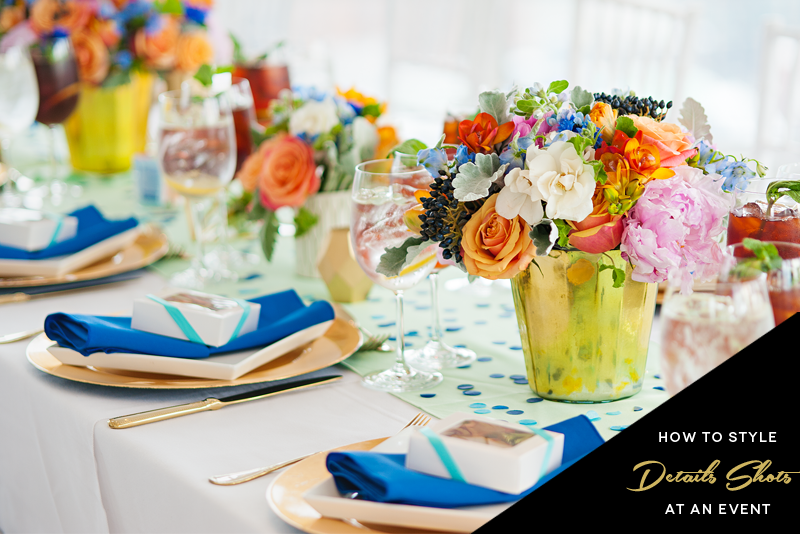
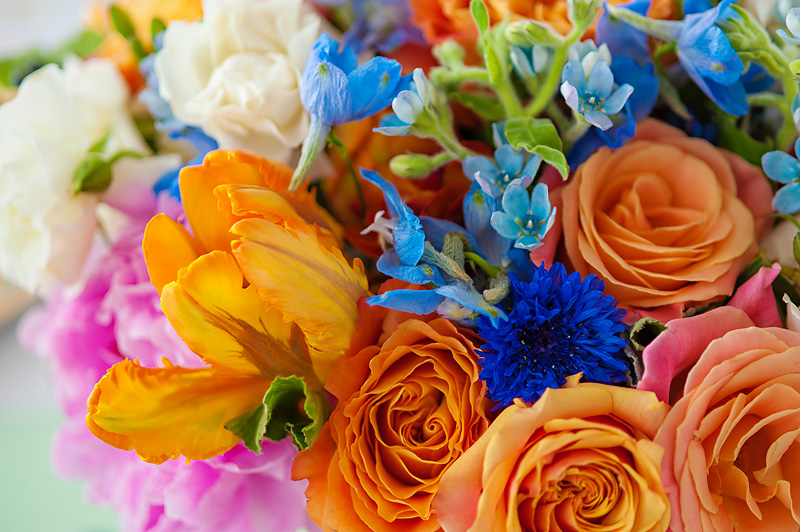
• Color Scheme: The first thing I do when I arrive at an event is take a quick look around the room and take note of the colors being used for the event. Once I recognize a color palette, I make sure to use it in my storytelling throughout the day and incorporate as many of those colors in my details shots as often as I can. The colors in the floral arrangements is a great place to start for inspiration and usually my first few shots when I walk into the event space.
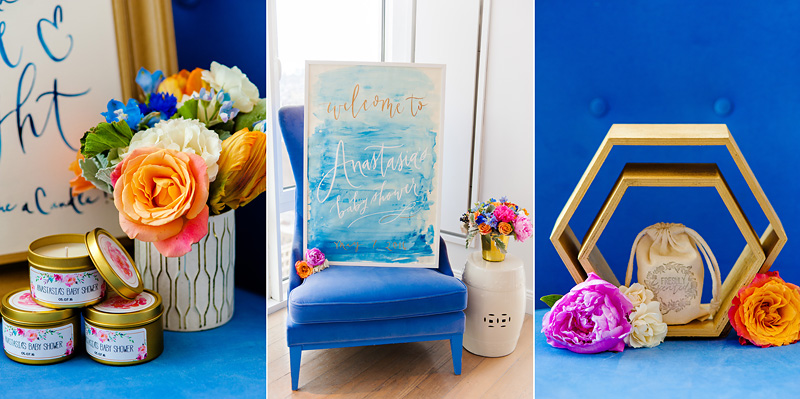
• Declutter your background: My clients have spent a lot of time and resources gathering all these beautiful items to make their event one-of-a-kind and I want to make sure everything looks great in their images. And clutter in a background will often ruin otherwise beautiful shots. This is why I will often find a well lit, plain backdrop that I can use for a series of images and shoot most of my details in this space (and yes, it often requires that I move things around to make it happen). Not only does this avoid the issue of clutter, it also allows for consistency in the images when it’s time to design an album. Depending on the feel of the event, sometimes it can be a plain or textured wall, a hardwood floor, or in the case below, an unholstered chair which happened to match the event color palette!
• Try different combinations/ angles: I always make it a point to shoot the same object at least 2 or 3 different ways: up close, birds eye view, full length, straight on, both horizontally and vertically. This way I have options when designing the album/ drafting my blog post of the event. Not to mention, you just never know…sometimes shooting from an unexpected angle can be the thing that gives your image the extra “WOW” factor.
•Find a good, even source of light: I touched upon this point briefly in one of the earlier tips, but I can’t stress this enough! When choosing where to photograph your details, always position yourself close to a window for natural light. Depending on the type of day, it may need to be directly in front of the window (if it’ a dark/overcast day with minimal light) or off to the side (if it’s a sunny day and the light coming in is too bright.) Don’t be afraid to move objects around to a better lit area if necessary. In my opinion, natural light is always best for beautiful detail images.


• Incorporate interesting elements from the day: And last but not least, PLAY! Have fun combining different elements together, using the event’s color palette for a variety of Pinterest-worthy images! Some of my go-to add on items to stylize details are: napkins, flowers, chargers and linens. In addition to shooting from different angles, I also try to stylize the same object in at least two different options. For example: you can see how the cookie was photographed from above in its box on top on top of a blue napkin (top middle image), as well as out of the box at angle with a flower I stole from one of the arrangements (bottom middle image). This makes for a TON of variety in your detail images! 


